


Winter Portrait Watercolor Painting Process
Using gray as a base layer for low contrast, naturally lit portraits

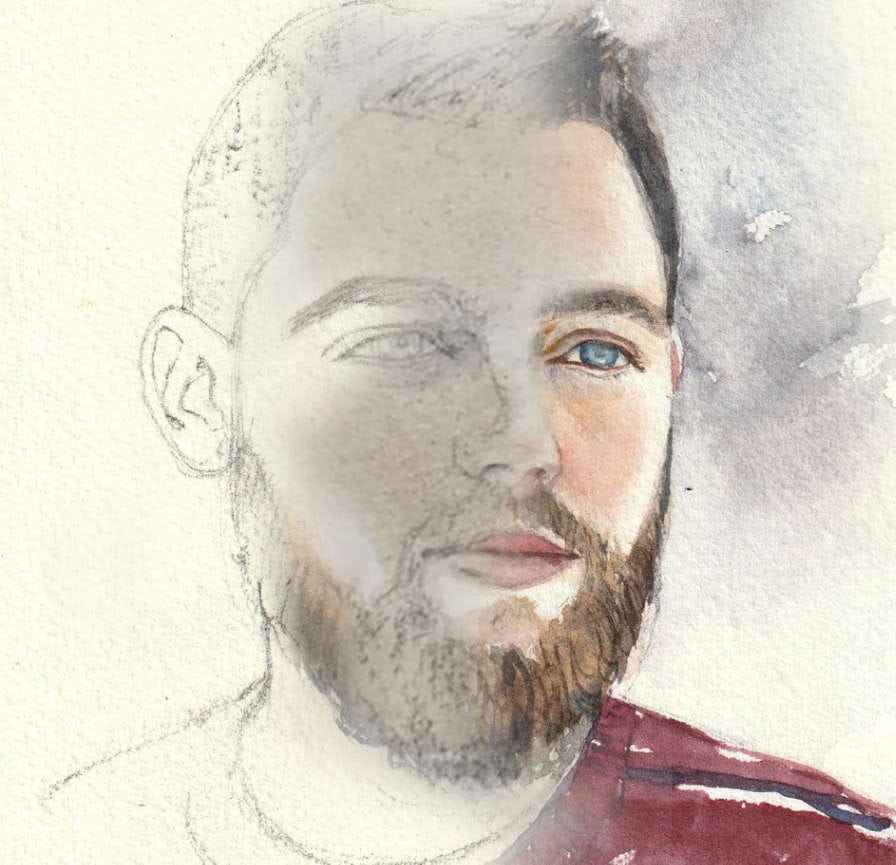
Recently during my ten week long Portrait in Watercolor course I started to play with a new approach for portraits in subjects with softer lighting and less contrast in the features. It involves using a variety of watercolor techniques, from wet in wet color mixing, to glazing and lifting off. This post will be an attempt to break down all of these steps for a portrait that is fitting for the winter, rosy cheeks and all.
It will be like cooking from a recipe, with a step by step approach. Speaking of which, I hate cooking from recipes online where all the ingredients are buried under a long preamble about the dish’s history and a bunch of pop-up ads.
So — Boom, here are your art material ingredients, right at the top.
Art Materials:
300g cold pressed watercolor paper
pencil and eraser
ultramarine blue (a cool blue), permanent cyan (a warm blue), permanent red (a warm red), crimson lake (a cool red), cadmium yellow, yellow ochre, burnt umber (or burnt sienna)
medium round brush, small round brush, sumi brush
2 jars of water
paper towels
Ready to paint a portrait? Let’s go:
Keep reading with a 7-day free trial
Subscribe to Jun-Pierre Art Notes to keep reading this post and get 7 days of free access to the full post archives.